Dutch Open Science Festival 2023

 @jsheunis
 jsheunis
Psychoinformatics lab,
Institute of Neuroscience and Medicine, Brain & Behavior (INM-7)
Research Center Jülich, Germany
SYNC lab,
Department of Psychology, Education and Child Studies
Erasmus School of Social and Behavioral Sciences, EUR, The Netherlands
Agenda
14h00: An overview of DataLad (30 min)
14h30: Code-along demo: DataLad basics (15 min)
14h45: break (10 min)
14h55: Code-along demo: DataLad basics (10 min)
15h10: Code-along demo: publishing datasets (30 min)
Acknowledgements
|
Funders


|
|
Collaborators
|
|
1
An overview of DataLad
What is a DataLad?
- A free and open source tool
- for decentralized (research) data management
- with a command line interface, Python API, and graphical user interface
- allowing exhaustive tracking of the evolution of digital objects
- and computational provenance tracking
- to enhance modularity, portability and reproducibility.
Let's explore this...
Everything is to be made FAIR
F
indableA
ccessibleI
nteroperableR
eusable
But the "I" in FAIR is not you
F?
I already have it, it's right here!A?
I am working with it already, I made it!I?
With what?R?
First let me finish this PhD and then we talk, OK?
Still, someone has to put in the work or nothing will ever be FAIR.
Be FAIR and immediately benefit from it yourself...
V
ersion-controlledA
ctionable metadataM
odularP
ortable
EUDAT B2DROP: data deposition and retrieval
Similar support for Surfdrive, Dataverse, Open Science Framework, S3, ...DataLad Gooey: Convenience for exploration and management
Companion (not competition) for the terminal
Metadata entry convenience
DataLad contact and more information
| Website + Demos | http://datalad.org |
| Documentation | http://handbook.datalad.org |
| Talks and tutorials | https://youtube.com/datalad |
| Development | http://github.com/datalad |
| Support | https://matrix.to/#/#datalad:matrix.org |
| Open data | http://datasets.datalad.org |
| Mastodon | @datalad@fosstodon.org |
| @datalad |
!!Stay tuned!!
First ever DataLad+git-annex meeting open for all!2
Code-along demonstration
Practical aspects
- We'll work in the browser on a cloud server with JupyterHub
- Cloud-computing environment:
- jupyterhub.datalad.nl - We have pre-installed DataLad and other requirements
- We will work via the terminal
- Draw a username, and set a password of your choice when logging in for the first time; remember it!
Using DataLad in the Terminal
Check the installed version:
datalad --version
datalad --help
wtf:
datalad wtf
git identity
Check git identity:
                git config --get user.name
                git config --get user.email
                    git config --global user.name "Stephan Heunis"
                    git config --global user.email "s.heunis@fz-juelich.de"
Using datalad via its Python API
Open a Python environment:
ipython
                    import datalad.api as dl
                    dl.create(path='mydataset')
exit
2 Code-along demo
2.1 Datalad Basics
Datalad datasets...

...Datalad datasets
Create a dataset (here, with thetext2git config):
datalad create -c text2git bids-data
cd (change directory):
cd bids-data
ls:
ls -la .
Version control...

...Version control
Let's add some Markdown text to a README file in the dataset
echo "# A BIDS structured dataset for my input data" > README.md
status of the dataset:
datalad status
save
datalad save -m "Add a short README"
echo "Contains functional task data of one subject" >> README.md
datalad save -m "Add information on the dataset contents to the README"
git log
Data consumption & transport...

...Data consumption & transport...
Install a dataset from remote URL (or local path) usingclone:
                cd ../
                datalad clone \
                https://github.com/psychoinformatics-de/studyforrest-data-phase2.git
                    cd studyforrest-data-phase2
                    ls
du -sh # this will print the size of the directory in human readable sizes
datalad status --annex
...Data consumption & transport
We can retrieve actual file content withget (here, multiple files):
                # get all files of sub-01 for all functional runs of the localizer task
                datalad get \
                sub-01/ses-localizer/func/sub-01_ses-localizer_task-objectcategories_run-*.nii.gz
drop it:
                    # drop a specific file
                    datalad drop \
                    sub-01/ses-localizer/func/sub-01_ses-localizer_task-objectcategories_run-4_bold.nii.gz
getit:
                    # get a specific file
                    datalad drop \
                    sub-01/ses-localizer/func/sub-01_ses-localizer_task-objectcategories_run-4_bold.nii.gz
get what you want when you need it,
and drop the rest.
Dataset nesting...
Datasets can be nested in superdataset-subdataset hierarchies: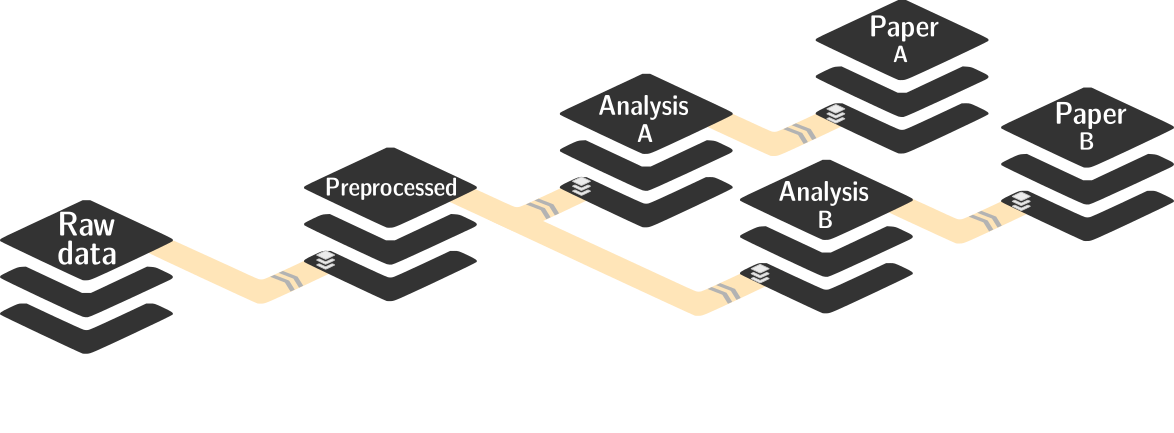
- Helps with scaling (see e.g. the Human Connectome Project dataset )
- Version control tools struggle with >100k files
- Modular units improves intuitive structure and reuse potential
- Versioned linkage of inputs for reproducibility
...Dataset nesting
Let's make a nest! First we navigate into the top-level dataset:
cd ../bids-data
-d/--dataset flag):
                    datalad clone --dataset . \
                    https://github.com/datalad/example-dicom-functional.git  \
                    inputs/rawdata
                    datalad clone -d . \
                    https://github.com/ReproNim/containers.git \
                    code/containers
subdatasets command:
datalad subdatasets
Computationally reproducible execution...

- which script/pipeline version
- was run on which version of the data
- to produce which version of the results?
...Computationally reproducible execution...
- The
datalad runcan run any command in a way that links the command or script to the results it produces and the data it was computed from - The
datalad reruncan take this recorded provenance and recompute the command - The
datalad containers-run(from the extension) can capture software provenance in the form of software containers in addition to the provenance that datalad run captures
datalad-container extension, we can inspect the list of registered containers (recursively):
datalad containers-list --recursive
repronim-reproin container for dicom conversion.
...Computationally reproducible execution
Now, let's try out thecontainers-run command:
                datalad containers-run -m "Convert subject 02 to BIDS" \
                --container-name code/containers/repronim-reproin \
                --input inputs/rawdata/dicoms \
                --output sub-02 \
                "-f reproin -s 02 --bids -l '' --minmeta -o . --files inputs/rawdata/dicoms"
containers-run command has completed?
We can use
datalad diff (based on git diff):
datalad diff -f HEAD~1
And we have a complete provenance record as part of the git history:
git log -n 1
Publishing datasets...
 |
 |
- OSF
- SURFdrive (webdav)
- Dataverse
- GitHub
Using published data...
Let's use our published data in a new analysis, to demonstrate reusability and the usefulness of modularity.First let's create a new dataset using the yoda principles:
                cd ../
                datalad create -c yoda myanalysis
(NB: use the browser URL without ".git" suffix):
                    cd myanalysis
                    datalad clone -d . \
                    https://gin.g-node.org/your-gin-username/bids-data \
                    input
...Using published data...
We have data, and now we need an analysis script. We will use DataLad'sdownload-url which gets the content of a script and registers its source:
                datalad download-url -m "Download code for brain masking from Github" \
                -O code/get_brainmask.py \
                https://raw.githubusercontent.com/datalad-handbook/resources/master/get_brainmask.py
datalad-container extension to register a container to the new dataset:
                    datalad containers-add nilearn \
                    --url shub://adswa/nilearn-container:latest \
                    --call-fmt "singularity exec {img} {cmd}"
...Using published data
Finally, we can run the analysis:
                datalad containers-run -m "Compute brain mask" \
                -n nilearn \
                --input input/sub-02/func/sub-02_task-oneback_run-01_bold.nii.gz \
                --output figures/ \
                --output "sub-02*" \
                "python code/get_brainmask.py"
git log sub-02_brain-mask.nii.gz
datalad rerun
2 Code-along demo
2.2 Publishing data
- OSF
- SURFdrive (webdav)
- Dataverse
- GitHub
Publishing to OSF
create-sibling-osf
(docs)- Log into OSF
- Create personal access token
- Enter credentials using
datalad osf-credentials:
datalad osf-credentials
                datalad create-sibling-osf -d . -s my-osf-sibling \
                --title 'my-osf-project-title' --mode export --public
datalad push -d . --to my-osf-sibling
                cd ..
                datalad clone osf://my-osf-project-id my-osf-clone
Publishing to SURFdrive
https://www.surf.nl/en/surfdrive-store-and-share-your-files-securely-in-the-cloud
create-sibling-webdav
(docs)- Log into SURFdrive
- Create a new folder, e.g.,
datalad-test - Copy your WebDAV URL and add the folder name at the end:
Menu > Files > Settings > WebDAV
E.g.:https://surfdrive.surf.nl/files/remote.php/nonshib-webdav/datalad-test - Create the sibling:
                cd midterm_project
                datalad create-sibling-webdav \
                -d . \
                -r \
                -s my-webdav-sibling \
                --mode filetree 'my-webdav-url'
At this point, DataLad should ask for credentials if you have not entered them before. Enter your Sciebo username and password.
datalad push -d . --recursive --to my-webdav-sibling
                cd ..
                datalad clone 'datalad-annex::?type=webdav&encryption=none\
                &exporttree=yes&url=my-webdav-url/dataset-name' my-webdav-clone
Publishing to Dataverse
 |
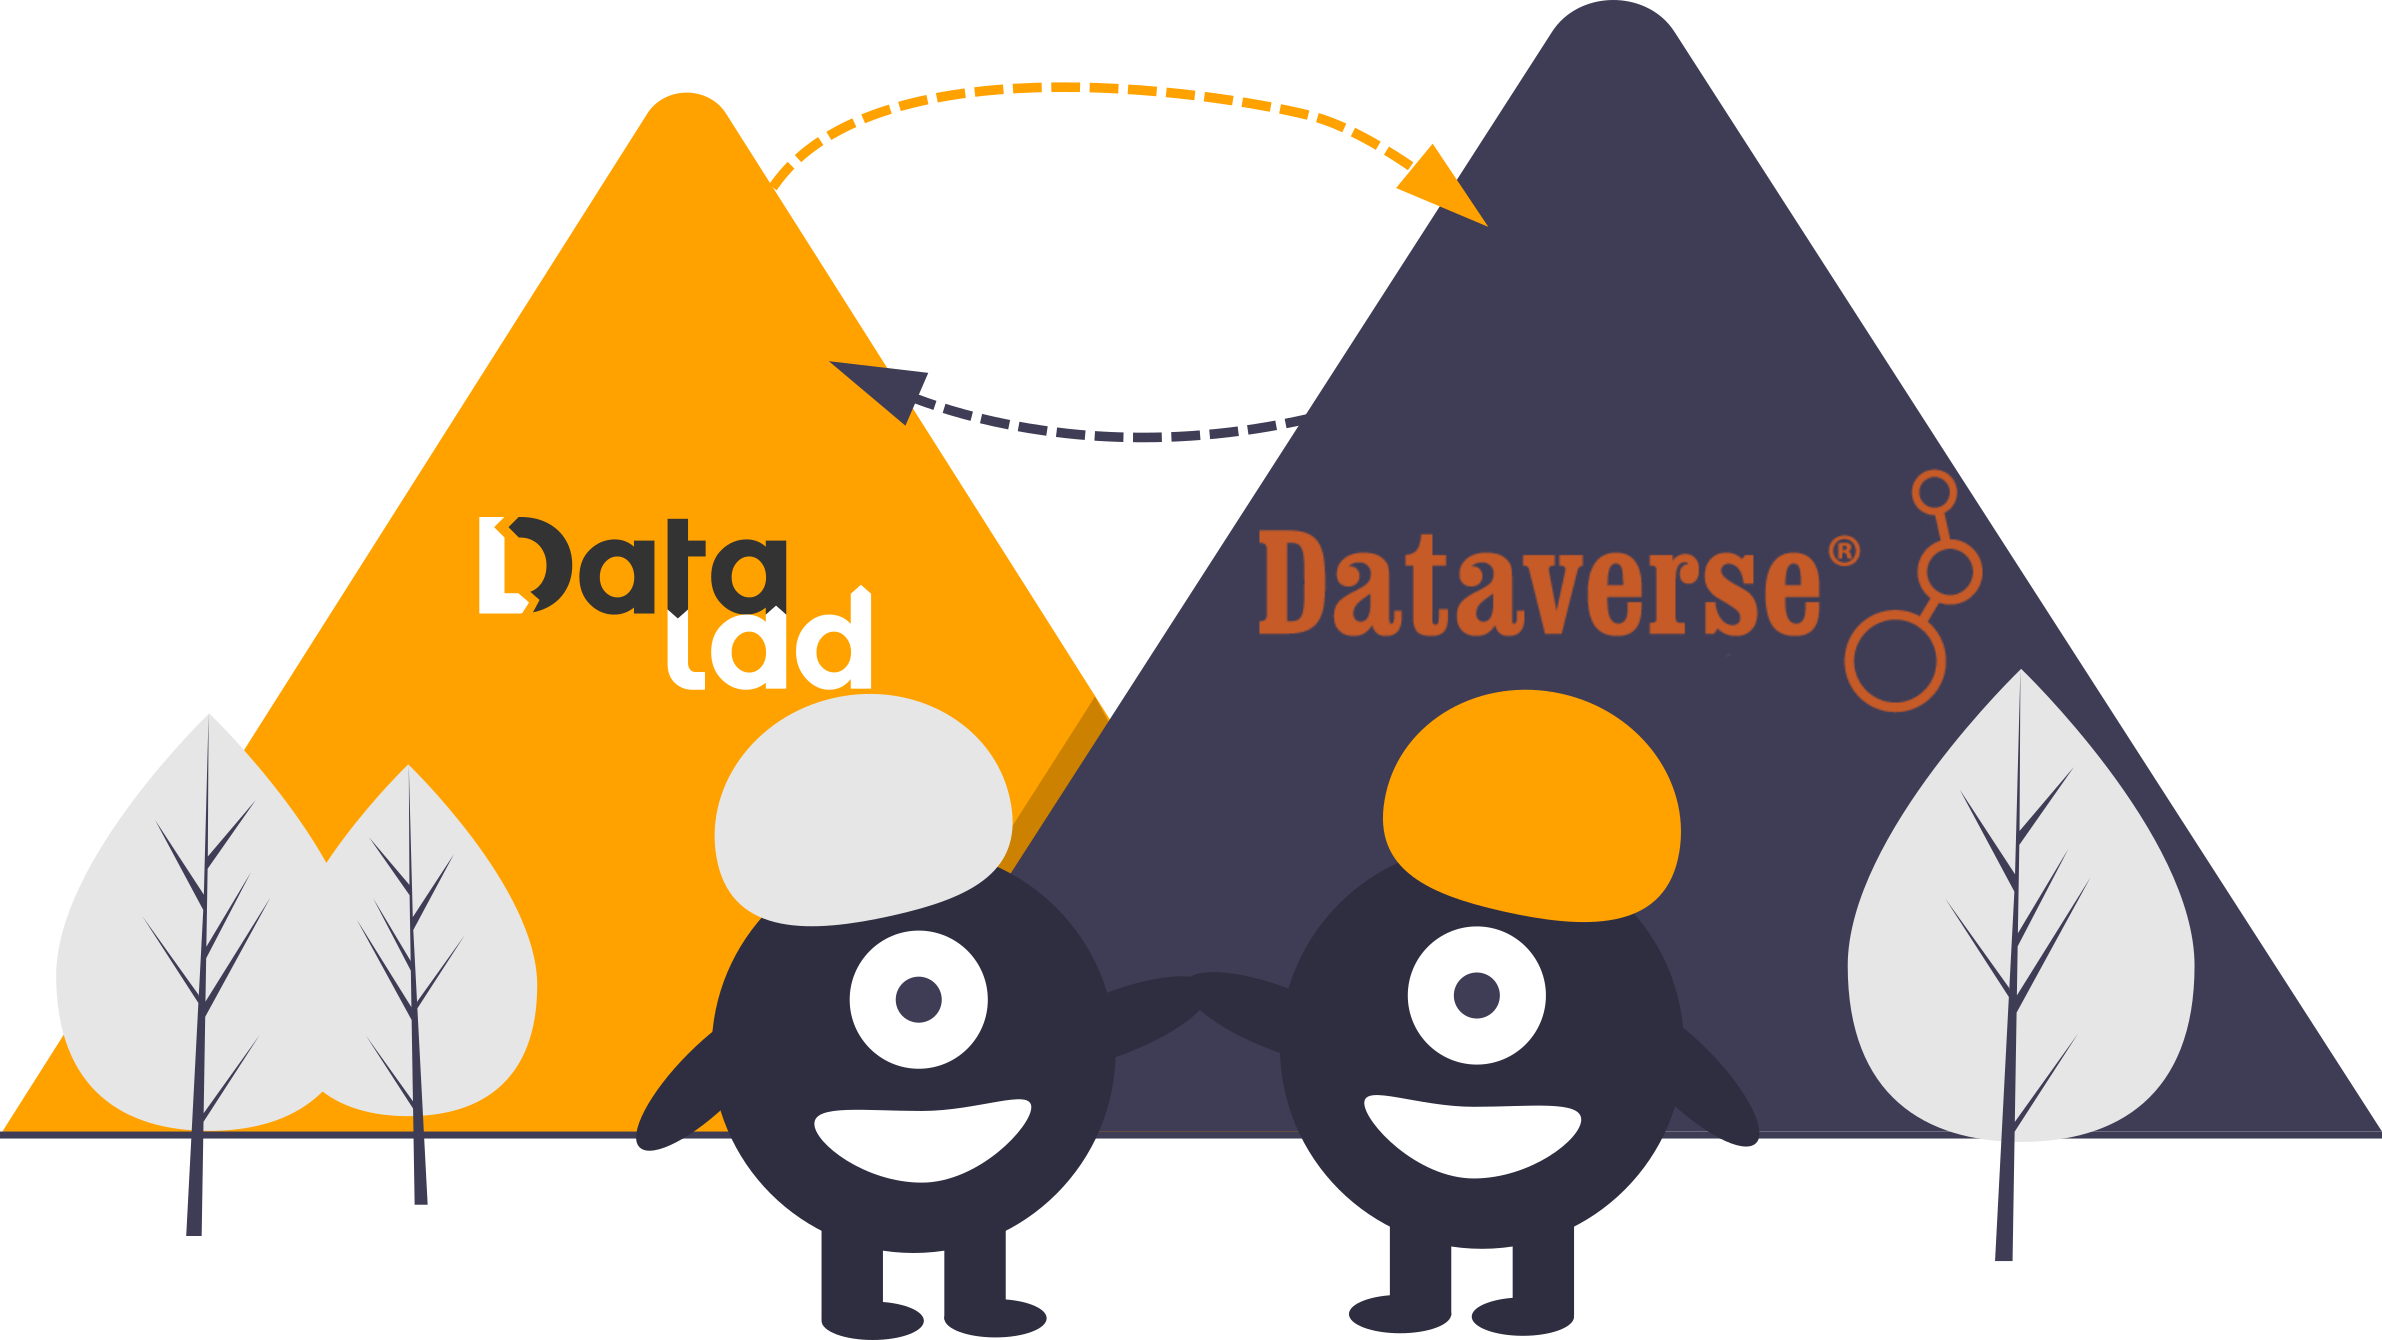 |
add-sibling-dataverse
(docs)- Create an account and log into demo.dataverse.org (or your instance)
- Find your API token (Username > API Token)
- Create a new Dataverse dataset
- Add required metadata and save dataset
- Retieve dataset DOI and the Dataverse instance URL
- Create the sibling:
                cd midterm_project
                datalad add-sibling-dataverse -d . -s my-dataverse-sibling \
                'my-dataverse-instance-url' doi:'my-dataset-doi'
for example:
                datalad add-sibling-dataverse -d . -s dataverse \
                https://demo.dataverse.org  doi:10.70122/FK2/3K9FOD
(DataLad asks for credentials (token) if you haven't entered them before)
datalad push -d . --to my-dataverse-sibling
                cd ..
                datalad clone 'datalad-annex::?type=external&externaltype=dataverse\
                &encryption=none&exporttree=no&url=my-dataverse-instance-url\
                &doi='my-dataset-doi' my-sciebo-clone
Extras
Our dataset: Midterm YODA Data Analysis Project
Our dataset: Midterm YODA Data Analysis Project
- DataLad dataset: https://github.com/datalad-handbook/midterm_project
- Find out more: A Data Analysis Project with DataLad
- All inputs (i.e. building blocks from other sources) are located in the
input/subdataset - Custom code is located in
code/ - Relevant software is included as a software container
- Outcomes are generated with a provenance tracked run command, and located in the root of the dataset:
prediction_report.csvcontains the main classification metricsoutput/pairwise_relationships.pngis a plot of the relations between features.
                [DS~0] ~/midterm_project
                ├── CHANGELOG.md
                ├── README.md
                ├── code/
                │   ├── README.md
                │   └── script.py
                ├── [DS~1] input/
                │   └── iris.csv -> .git/annex/objects/...
                ├── pairwise_relationships.png -> .git/annex/objects/...
                └── prediction_report.csv -> .git/annex/objects/...
Our dataset: Midterm YODA Data Analysis Project
                datalad clone \
                https://github.com/datalad-handbook/midterm_project.git
                cd midterm_project
                datalad subdatasets
datalad get input
datalad drop input
tig
datalad rerun HEAD~2
2a
Publishing to GitLab
create-sibling-gitlab
(docs)- Log into GitLab
- Create personal access token
- Create a top-level group
- Create a gitlab config file (replace relevant items)
                    cat << EOF > ~/.python-gitlab.cfg
                    [my-site]
                    url = https://gitlab.com/
                    private_token = my-gitlab-token
                    api_version = 4
                    EOF
create-sibling-gitlab in the midterm_project dataset:
                    datalad configuration set datalad.gitlab-default-site='my-site'
                    datalad configuration set datalad.gitlab-'my-site'-project='my-top-level-group'
datalad create-sibling-gitlab -d . --recursive -s 'my-gitlab-sibling'
datalad push -d . --recursive --to 'my-gitlab-sibling'
How do we publish data?
"Share data like source code"
- Datasets can be cloned, pushed, and updated from and to local and remote paths, remote hosting services, external special remotes
- Examples:
Local path
Remote path../my-projects/experiment_data
Hosting servicemyuser@myinstitutes.hcp.system:/home/myuser/my-projects/experiment_data
External special remotesgit.github.com:myuser/experiment_data.gitosf://my-osf-project-id

Interoperability
- DataLad is built to maximize interoperability and use with hosting and storage technology
 See the chapter
Third party infrastructure for walk-throughs for different services
See the chapter
Third party infrastructure for walk-throughs for different services
Interoperability
- DataLad is built to maximize interoperability and use with hosting and storage technology
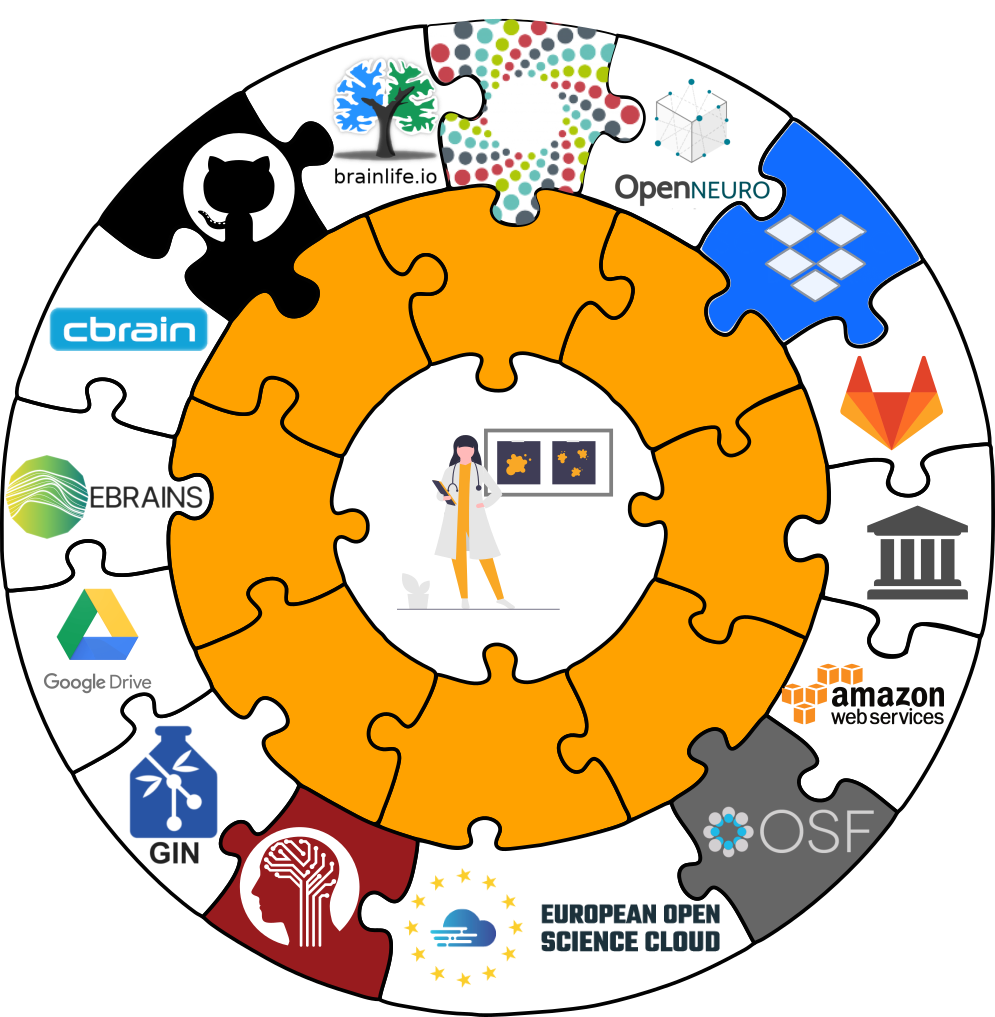 See the chapter
Third party infrastructure for walk-throughs for different services
See the chapter
Third party infrastructure for walk-throughs for different services
Publishing datasets
I have a dataset on my computer. How can I share it, or collaborate on it?
Glossary
- Sibling (remote)
- Linked clones of a dataset. You can usually update (from) siblings to keep all your siblings in sync (e.g., ongoing data acquisition stored on experiment compute and backed up on cluster and external hard-drive)
- Repository hosting service
- Webservices to host Git repositories, such as GitHub, GitLab, Bitbucket, Gin, ...
- Third-party storage
- Infrastructure (private/commercial/free/...) that can host data. A "special remote" protocol is used to publish or pull data to and from it
- Publishing datasets
- Pushing dataset contents (Git and/or annex) to a sibling using datalad push
- Updating datasets
- Pulling new changes from a sibling using datalad update --merge
Publishing datasets
- Most public datasets separate content in Git versus git-annex behind the scenes

Publishing datasets

Publishing datasets

Publishing datasets
Typical case:- Datasets are exposed via a private or public repository on a repository hosting service
- Data can't be stored in the repository hosting service, but can be kept in almost any third party storage
-
Publication dependencies automate pushing to the correct place, e.g.,
    $ git config --local remote.github.datalad-publish-depends gdrive
    # or
    $ datalad siblings add --name origin --url git@git.jugit.fzj.de:adswa/experiment-data.git --publish-depends s3

Publishing datasets
Special case 1: repositories with annex support

Publishing datasets
Special case 2: Special remotes with repositories
